Server Actions

Server Action Form Validation

This example was originally created as one of several examples I wrote for a post about Using Server Actions with Next JS. See that post for a more detailed explanation of the concepts here.

We usually need to perform some kind of validation on the data that users submit in forms. Zod is a popular library for this purpose, and it can be used in conjunction with Server Actions to validate form data before it is submitted.
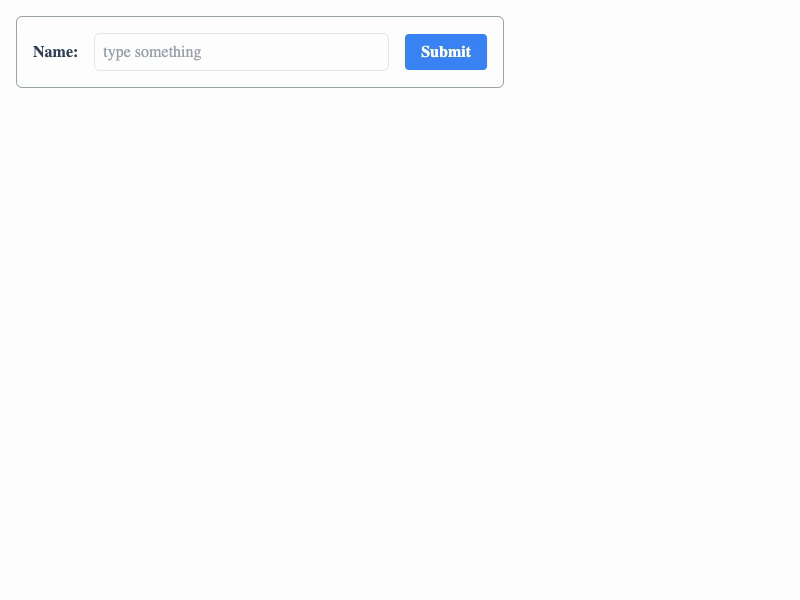
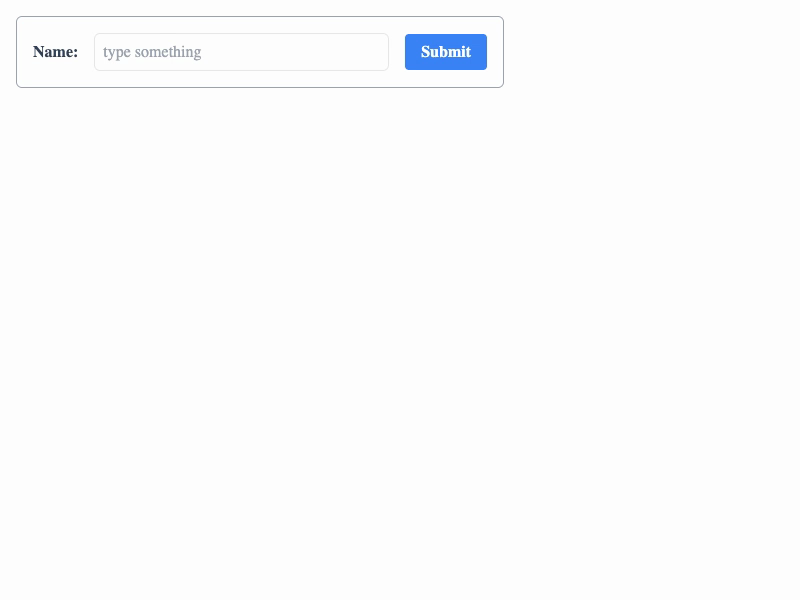
Live Demo

Try submitting the live form below with or without entering text in the various fields. The form uses Zod on the server-side to validate input, and will surface per-field validation error messages if present:

Host name or IP address of the server to back up

The type of device to back up

Code

Here's a simple Zod schema that we can use to validate a form that collects information about a device. The schema defines the fields that the form will have, and the validation rules for each field:

schema.ts
import { z } from 'zod'

export const DeviceTypes = {
opnsense: 'OPNSense',
hass: 'Home Assistant',
tplink: 'TP-Link',
}

const DeviceSchema = z.object({
name: z.string().min(2).optional().nullable(),
type: z.enum([Object.keys(DeviceTypes)[0], ...Object.keys(DeviceTypes)]),
hostname: z.string().min(2).optional().nullable(),
})

export default DeviceSchema

Our server action in this case looks like this:

action.ts
'use server'

import { ZodError } from 'zod'
import DeviceSchema from './schema'

export async function createDeviceAction(
prevState: any,
formData: FormData,
): Promise<any> {
try {
const data = getDeviceDataFromFormData(formData)
DeviceSchema.parse(data)
const device = await createDevice(data)

return {
success: true,
message: 'Device Created Successfully',
payload: { device },
}
} catch (error) {
if (error instanceof ZodError) {
return {
success: false,
message: 'Validation Error',
validationError: {
issues: error.issues,
},
}
}

return {
success: false,
message: 'Failed to create device',
error: JSON.stringify(error),
}
}
}

//simulates creating a device
export async function createDevice(data: any) {
await new Promise((resolve) => setTimeout(resolve, 1000))

const device = {
id: Math.round(Math.random() * 10000),
...data,
}

return device
}

//whitelist approach to pulling only data we want from the form
function getDeviceDataFromFormData(formData: FormData) {
return {
type: formData.get('type') as string,
hostname: formData.get('hostname') as string,
name: formData.get('name') as string,
}
}

The action just takes data from the form, pulls out the fields we care about, and then validates it using the Zod schema. If the data is valid, it creates a device and returns a success message. If the data is invalid, it returns a validation error message with the issues that Zod found. These can then be shown in the form:

form.tsx
export default function ValidatedForm({ device }: { device?: Device }) {
const [state, formAction] = useFormState(createDeviceAction, {
success: '',
message: '',
validationError: {},
})

const errors = state.validationError?.issues || []

return (
<form className="flex flex-col gap-4" action={formAction}>
<Field>
<Label>Device Name</Label>
<Input
invalid={fieldHasError(errors, 'name')}
name="name"
placeholder="At least 2 characters"
defaultValue={device?.name || undefined}
/>
<ErrorMessage>{errorForField(errors, 'name')?.message}</ErrorMessage>
</Field>
<Field>
<Label>Hostname</Label>
<Description>
Host name or IP address of the server to back up
</Description>
<Input
invalid={fieldHasError(errors, 'hostname')}
name="hostname"
placeholder="http://192.168.1.1"
defaultValue={device?.hostname || undefined}
/>
<ErrorMessage>
{errorForField(errors, 'hostname')?.message}
</ErrorMessage>
</Field>
<Field>
<Label>Type</Label>
<Description>The type of device to back up</Description>
<Input
invalid={fieldHasError(errors, 'type')}
name="type"
defaultValue={device?.type || undefined}
placeholder="hass, tplink or opnsense"
/>
<ErrorMessage>{errorForField(errors, 'type')?.message}</ErrorMessage>
</Field>
{state.success === true && (
<p className="m-0 text-green-500">{state.message}</p>
)}
<div className="flex justify-end">
{device && <input type="hidden" name="id" value={device.id} />}
<SubmitButton />
</div>
</form>
)
}

This particular form has a few helper functions to make it easier to show validation errors - check out form.tsx source for the full implementation.

Authentication doesn't happen automagically

This is a very simple example, but in a real-world application you would likely want to add some kind of authentication to your server actions. These server action endpoints are as wide open as any other, so you need to reason about them in the exact same way when it comes to authentication and authorization.

Similar Examples

Form Status

actionsform

How to show a spinner or other status while a form is submitting

Previous
Form Submission with status